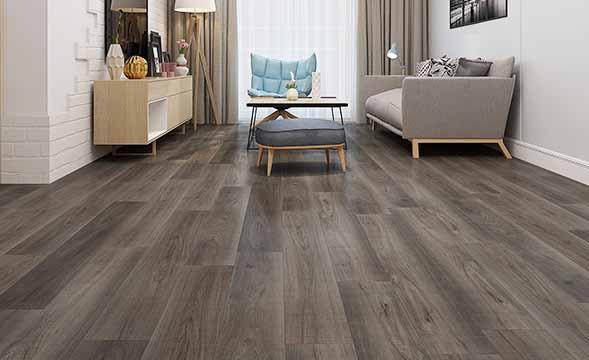
SPC (Stone Plastic Composite) Flooring Dubai has become one of the most popular choices for homeowners and businesses alike, thanks to its durability, water resistance, and sleek design. While it’s a fantastic flooring solution, the idea of installing it might seem daunting. However, with a little preparation and the right tools, you can achieve professional results without hiring an expert. This step-by-step guide will walk you through the process of installing SPC flooring like a pro.
What You’ll Need for Installation
Before you dive into the installation process, ensure you have all the necessary tools and materials on hand:
- SPC Flooring Planks (make sure you have enough for your space)
- Measuring Tape
- Square (for cutting straight edges)
- Utility Knife or SPC Flooring Cutter
- Spacers (for expansion gaps)
- Rubber Mallet
- Pull Bar and Tapping Block
- Underlayment (optional, depending on the manufacturer)
- Adhesive (if required)
- Safety Gear (gloves, goggles)
Prepare the Subfloor
The subfloor is the foundation of your flooring installation, so it’s essential that it’s clean, dry, and level. Start by removing any old flooring or debris. Sweep and vacuum the area to ensure there are no dust particles or sharp objects that could affect the SPC planks.
Next, check the level of the subfloor using a leveling tool. If there are any dips or bumps, sand them down or fill them in with a leveling compound to create a smooth, even surface. If your subfloor is concrete, make sure it is dry before installing SPC flooring. If it’s wood, ensure that the boards are firmly attached and do not squeak.
Acclimate the SPC Flooring
Before installation, it’s important to acclimate your SPC flooring to the room’s temperature and humidity. Allow the planks to sit in the room for at least 48 hours. This will help prevent expansion or contraction once the flooring is installed. Lay the planks flat and avoid stacking them.
Install Underlayment (Optional)
While SPC flooring doesn’t necessarily require underlayment, it can help with soundproofing and added comfort. If you choose to use an underlayment, roll it out across the subfloor, ensuring it lays flat and covers the entire area. Make sure to trim any excess underlayment that extends beyond the edges of the room.
Start Installing the First Row
Start by laying the first row of SPC planks along the longest wall in the room. This will create a straight line and ensure the rest of the installation flows smoothly. Use spacers along the edges to maintain a gap between the planks and the wall (typically 1/4 inch to 1/2 inch). This expansion gap is essential to accommodate the natural expansion and contraction of the flooring.
When installing the first plank, ensure the tongue and groove of the planks are aligned properly. The tongue should be inserted into the groove of the next plank, and the edges should fit tightly together. If needed, use a rubber mallet to tap the planks gently into place. Avoid hitting the planks directly with a hammer, as it may damage the edges.
Continue Installing the Planks
Once the first row is laid, continue with the next rows. Start each new row with a full plank and stagger the seams of each row to create a more natural, less noticeable pattern. This step is essential for both aesthetic appeal and the overall structural integrity of the floor.
If your space is not perfectly square, you may need to cut the planks at the end of each row. To do this, measure the space between the last plank and the wall and cut the plank to fit using a utility knife or SPC flooring cutter. Make sure to leave the proper expansion gap at the wall.
Cut Around Obstacles
If you encounter any obstacles such as door frames, vents, or columns, you’ll need to cut the planks to fit around them. Measure the distance from the wall to the obstacle, and mark the plank where it needs to be cut. Use a square to ensure your cuts are straight and precise. Once the cut is made, install the plank in place, ensuring it fits snugly around the obstacle.
For door frames, you can either slide the planks underneath or cut them to fit around the frame. A pull bar can be helpful when working in tight spaces to click the planks into place.
Secure the Last Row
As you approach the last row, you may find that the planks need to be cut to fit. Measure carefully and cut the planks using a utility knife or SPC flooring cutter. When installing the final row, use a pull bar to secure the planks tightly against the rest of the floor, making sure there are no gaps between the rows.
Once the last row is in place, remove any spacers and ensure that the expansion gap is consistent along the perimeter of the room.
Final Touches
After the SPC planks are installed, take a step back and inspect your work. Make sure all the seams are tight, and that the planks are properly aligned. You may need to go over a few areas with a tapping block or rubber mallet to ensure a perfect fit.
Finally, install baseboards or quarter-round moldings around the perimeter of the room to cover the expansion gap. Nail or glue the moldings to the wall, not the floor, to avoid restricting the flooring’s natural expansion.
Conclusion
Installing SPC flooring Dubai can be a straightforward and satisfying DIY project if you take the time to prepare and follow the proper steps. With the right tools and a little patience, you can achieve professional-quality results and enjoy a beautiful, durable floor that will last for years to come. Remember, the key is to take your time, work carefully, and don’t skip any essential steps, from acclimating the planks to securing the final row.
Happy installing!